
Blue Winter Trees Plate
- Sep 4, 2025
- 2 min read
Updated: Sep 9, 2025
Create a stunning Blue Winter Trees Plate with layered glazes, ombre effects, etched tree designs, and snowy accents. Step-by-step instructions make this project perfect for all skill levels.

Blue Winter Trees Plate
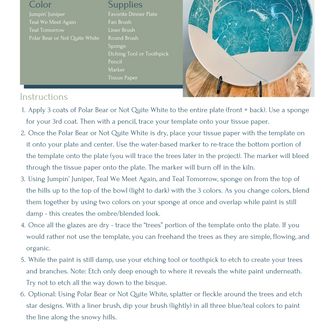
Supplies
Favorite Dinner Plate
Fan Brush
Liner Brush
Round Brush
Sponge
Etching Tool or Toothpick
Pencil
Marker
Tissue Paper
Colors
Jumpin’ Juniper
Teal We Meet Again
Teal Tomorrow
Polar Bear or Not Quite White
Instructions
Apply 3 coats of Polar Bear or Not Quite White to the entire plate (front + back). Use a sponge for your 3rd coat. Then with a pencil, trace your template onto your tissue paper.
Once the Polar Bear or Not Quite White is dry, place your tissue paper with the template on it onto your plate and center. Use the water-based marker to re-trace the bottom portion of the template onto the plate (you will trace the trees later in the project). The marker will bleed through the tissue paper onto the plate. The marker will burn off in the kiln.
Using Jumpin’ Juniper, Teal We Meet Again, and Teal Tomorrow, sponge on from the top of the hills up to the top of the bowl (light to dark) with the 3 colors. As you change colors, blend them together by using two colors on your sponge at once and overlap while paint is still damp - this creates the ombre/blended look.
Once all the glazes are dry - trace the “trees” portion of the template onto the plate. If you would rather not use the template, you can freehand the trees as they are simple, flowing, and organic.
While the paint is still damp, use your etching tool or toothpick to etch to create your trees and branches. Note: Etch only deep enough to where it reveals the white paint underneath. Try not to etch all the way down to the bisque.
Optional: Using Polar Bear or Not Quite White, splatter or fleckle around the trees and etch star designs. With a liner brush, dip your brush (lightly) in all three blue/teal colors to paint the line along the snowy hills.


Comments